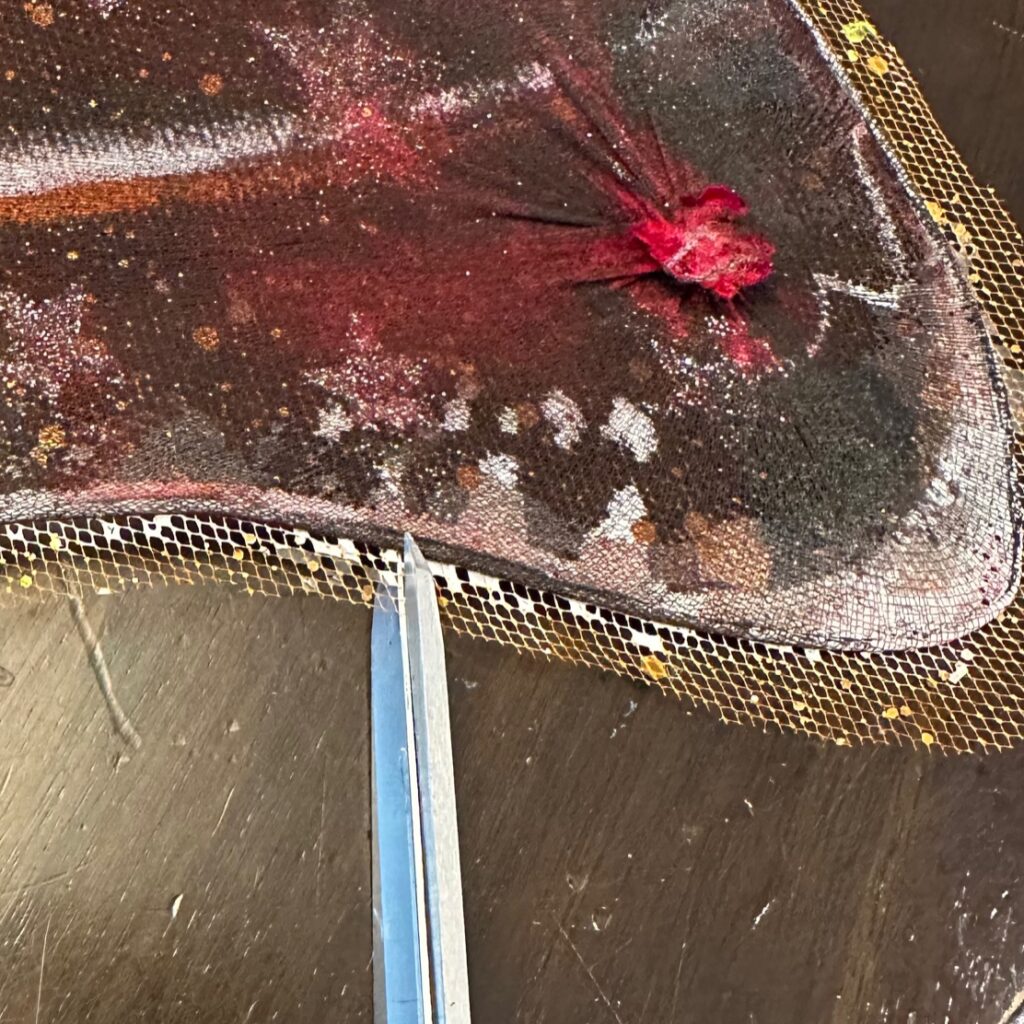
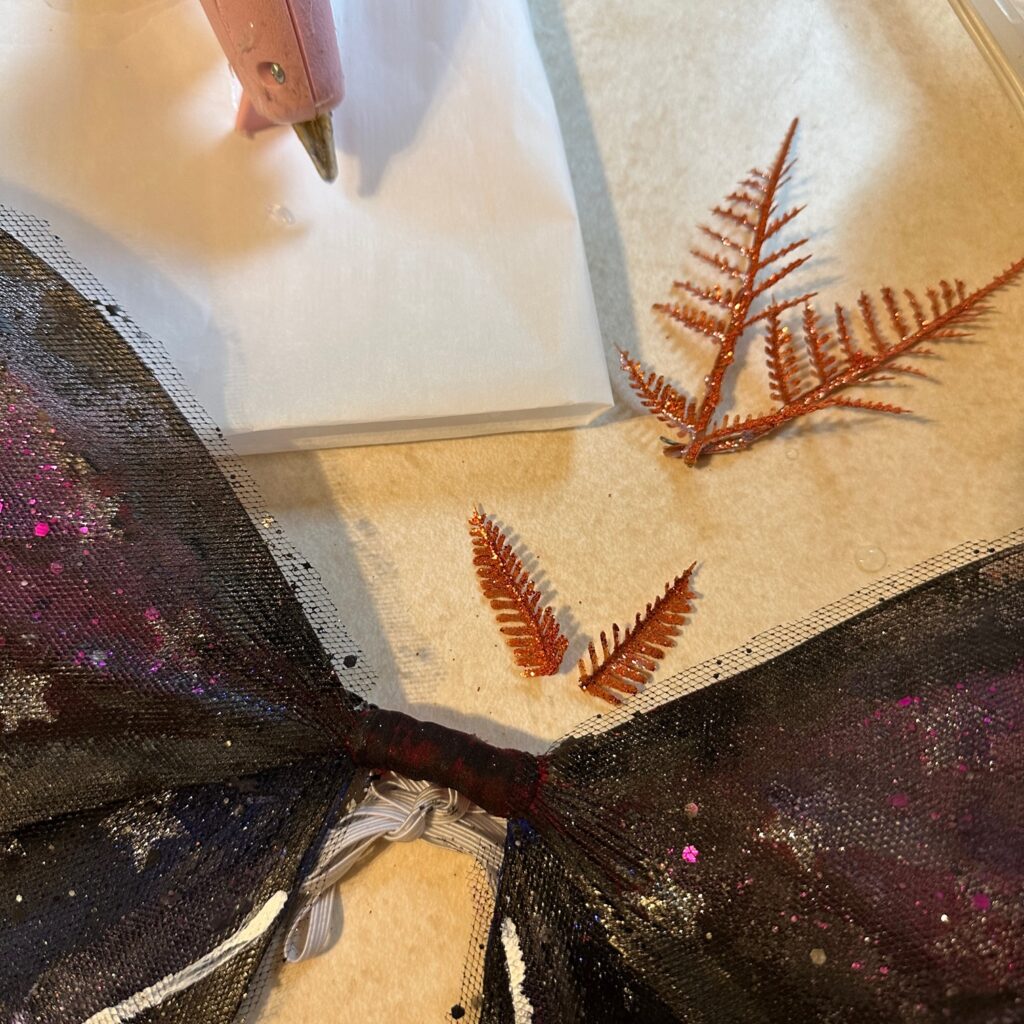
DIY Dollar Tree Halloween Decor Moths

Halloween is so much fun to create decor, especially from items from the Dollar Tree! I am so excited to show you how to make your own DIY Dollar Tree Halloween Midnight Moth!

My girls and I love butterflies we have a special connection with them and always feel like they deliver messages of love.  

At night, we also love moths. We call them nighttime butterflies. My girls even name them all “Luna” because we have had some gorgeous luna moths, and other big ones join the dance party under our porch light at night.


DIY Dollar Tree Halloween Craft

Here are the gorgeous Midnight Moths made from Dollar Tree items!

I’ll show you the techniques I used, each step I took, and the things I learned from the mistakes I made. 

I hope you’ll be able to come up with your own amazing designs, and share them here as well! I’m so in love with these moths, and I hope you’ll love yours as much as I do.


Outline of post is as follows:
Supplies List
Method
1. Bend wings
2. Paint background
3. Cover with tulle
4. Clean up edges
5. Wing pattern
6. Antennae
Mistakes and tips
Admire your work


(This site contains affiliate links, so I will earn a small commission from qualifying sales, however, I will only recommend items that I have purchased, and use myself). Thank you for supporting Pearls and Pancakes!


Supplies

  • Dollar Tree fairy wings (I did three, just to show variations)
  • Dollar Tree Glow in the Dark Glitter Tulle
  • Dollar Tree floral pieces (for the antennas)
  • Paint (I used Dollar Tree orange, purple, black, and white, which are water based acrylic paints, but you can use any color.)
  • Mod Podge (I used matte, but I would have preferred using glossy)
  • Scissors
  • Paint brushes (I used multiple brushes for each color of paint, so I didn’t have to rinse them as often)
  • Hot glue gun and hot glue sticks
  • Precision Tweezers (for placing metal flakes, and working with hot glue) 

****Optional

Dollar Tree Metal Flakes, and glitter glue


Dollar Tree Supplies

I used trial and error to make these moths. Here, I laid out the easiest way to make these, with step-by-step instructions, hoping that you’ll have a much more enjoyable experience creating them.

Method

Dollar Tree fairy wings

1. Bend the fairy wings into the moth shape you want. (If you want to be somewhat accurate to a real moth, then I recommend doing a google image search on moths. I just “winged” it, pun intended.)

I have three different shapes, you’re welcome to use the same shapes, and if not, you can do an easy google search to find the moth shape you want.

Note: Moth wings are typically more horizontal than butterfly or fairy wings we’re used to.

2. Paint Background

Paint the entire moth on both sides with black paint. Because the wings are made out of nylon, paint will easily seep through, allowing many layers to show (which is a really cool artistic feature).  

As you can see, even though I painted the moth on both sides with black, the original stars, and red and blue colors can still be seen. 

Allow the wings to dry.

3. Cover with Dollar Tree Glow in the Dark Tulle.

I used black, purple and orange glow in the dark Dollar Tree tulle to cover the wings.

(I had to test some of this to see just HOW glow in the dark it actually was….I was happy with my discovery. 🙂

Cut a piece that will completely cover each section. leaving about 1/4″-1/2″ overlap around all edges.

If you want to add a little more detail, you can cut smaller pieces of tulle to put in sections of the wings. 

For example, I added an extra piece of tulle to the tip of one of my moths, and a strip of purple tulle to another. This almost creates a faded “spray paint” effect.

Use Mod Podge to adhere the tulle to each wing section. It will dry clear, so don’t worry about how the wings look while they’re still wet.

Allow Mod Podge to dry.

4. Clean edges

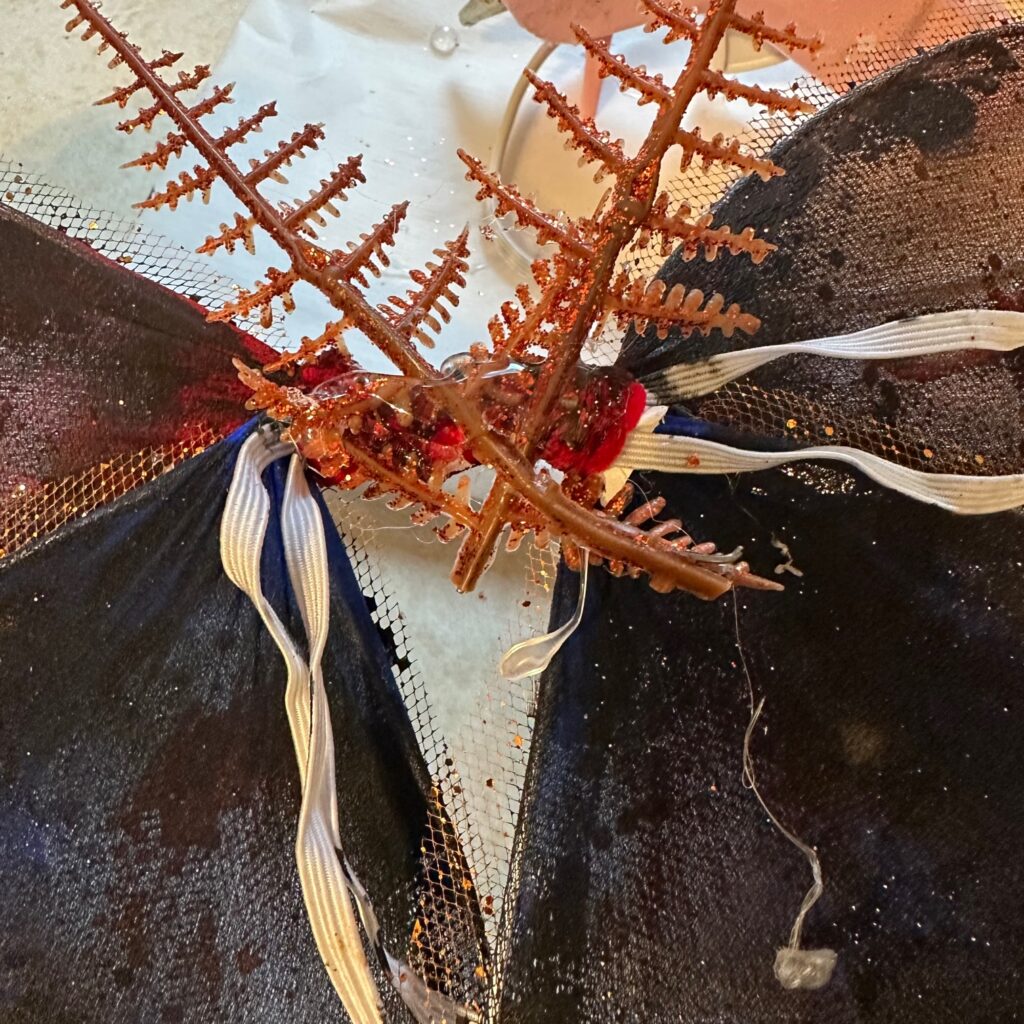
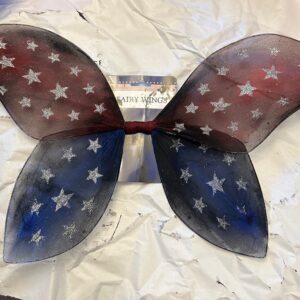
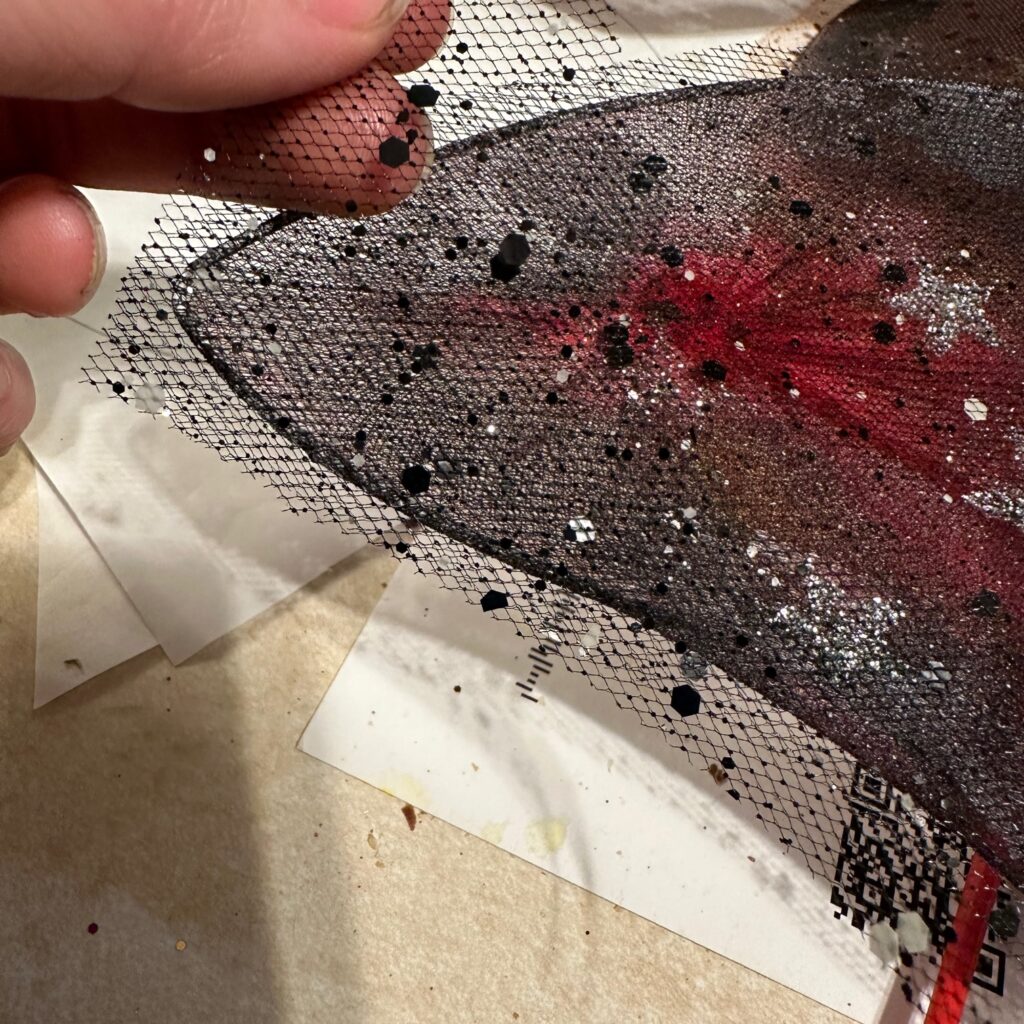
Turn the moth over, so the back is facing up. 

Use scissors to cut perpendicular slits in the tulle that overlaps the edges. This allows you to fold the tulle smoothly so you can glue the edge down without any bumps. 


(I did this step later on and wish I would have done it at this point.)


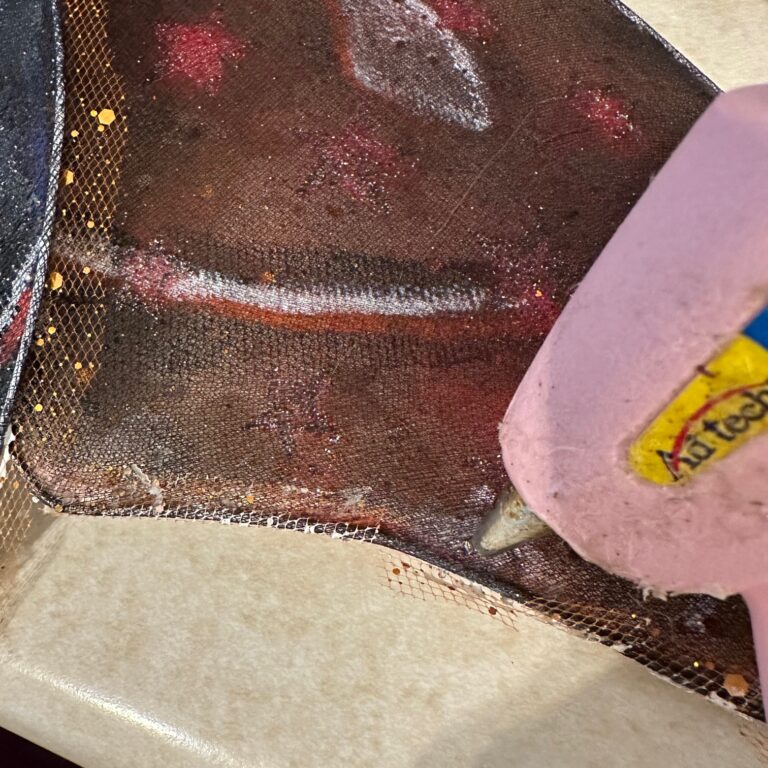
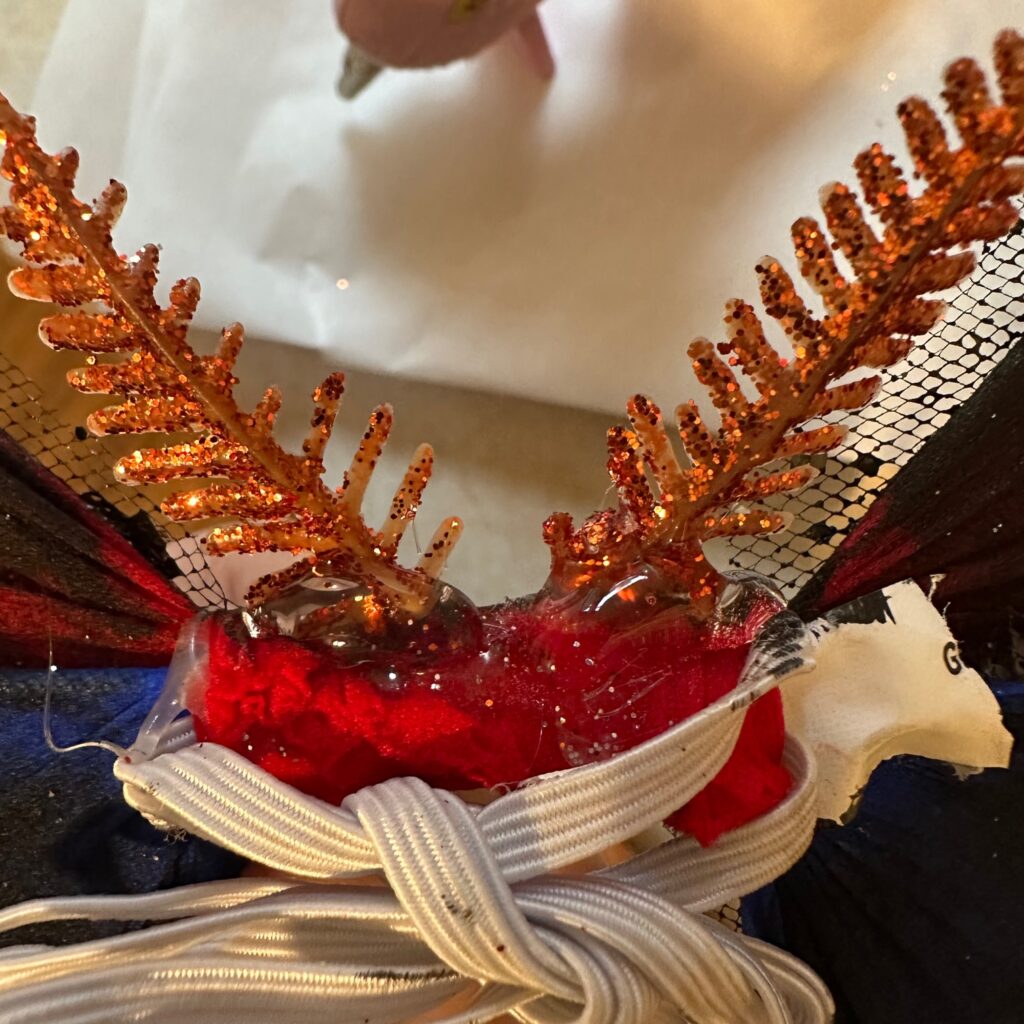
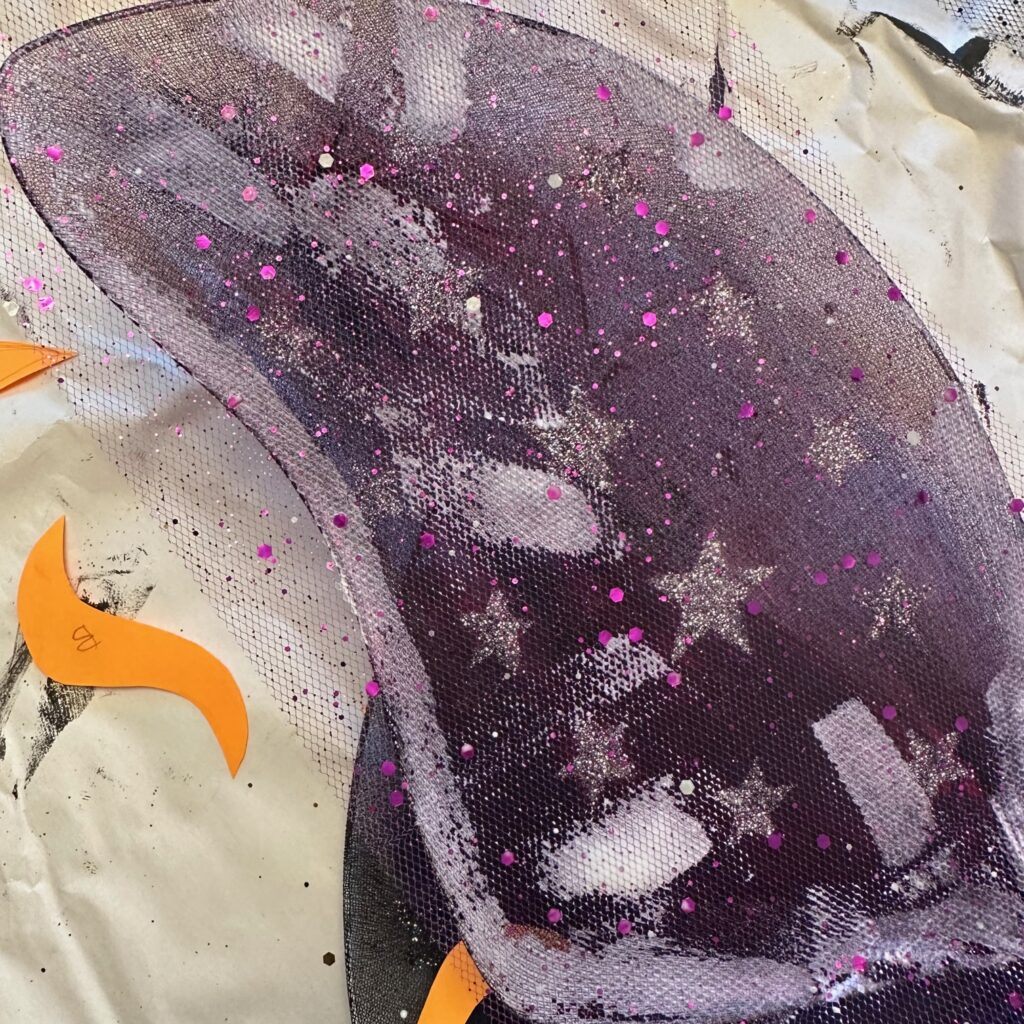
Use a hot glue gun to put a small amount on about 3″ of the edge of the wing, then fold the excess tulle on top of it, securing it with

You can see how the wing shapes are more horizontal. They also have lined markings that go across the wings, and others that look like eyes. Then there’s that random one in the bottom left corner that looks like it’s what you get when a giraffe goes trick or treating. 😛 

So, if you want, you can choose something more realistic, or just have fun with this and make it your own.

Design wing pattern

Sketch out your wing patterns on a piece of paper, then cut them out. It doesn’t have to be perfect.

It’s more important that it’s symmetrical, which will be by labeling an A side, and B side.

Place the shapes on top of the wings to decide where you want them. Use the same shape on the opposing wing, but flip it over, so the marking will be symmetrical on both sides.

Paint

I started with a light shade of white, then other colors, to outline where I wanted my line markings, and spots. 

It takes multiple layers of paint to get the bright colors because of the nylon and tulle we’re painting on. 

Tip: To make the light colors pop, use a dark color, (I used black), directly next to the light colors. This also cleans up some of those imperfect edges (below).

Tip: I also used extra black on the edges of the wings, to give it a little bit of a shaded look (above).

Decorate

Your options are endless with what you want to use to decorate your moth. I chose to use the Dollar Tree metal flakes, and Dollar Tree glitter glue. (To be honest, I feel like the glitter glue didn’t contribute a whole lot, especially because there were already sooooo many sparkles from the tulle). 

I used Mod Podge to paint an area where I wanted to place my Dollar Tree metal flakes. Then, I used these precision tweezers from Amazon.

This is an affiliate link from Amazon, however, I highly recommend using these precision tweezers if you want to add metal flakes to your moth. They were a lifesaver for me. 

Some of the metal flakes are really big, so I used two of the precision tweezers to carefully tear them into the sizes and shapes I wanted. 

6. Antennas

I used the top part of some Dollar Tree floral stems to create the antennae for one of my moths, and another thicker bottom piece for the second moth. 

I also used a small lower part of a black twiggy floral stem from Dollar Tree for the third moth. However, the method is basically the same.

Method: Cut whatever piece you decide to use for your antenna, as I did here.

If your antennae are small like the short fuzzy ones above, squeeze some hot glue on the top of the mid section where the wings join. 

If your antennae are larger, like the longer ones above, then squeeze some hot glue behind the mid section where the wings join.

Small fuzzy antennae attached on top
Large fuzzy antennae attached behind, then trimmed.

Place the antennae where you want them and hold them until the glue dries. You can also add more glue if needed to secure them further.

MISTAKES

I originally designed this moth like this, however, I hated it when I finished. I wanted to hurry to finish it before I had to stop to get dinner ready, and get my girls ready for bed.

I just walked away from it and came back the next day. When I picked it up again, I sat with it for a few minutes before figuring out what I wanted to do with it.

When I was ready with a plan, I painted over it with black, and drew new markings. Some of the original metal flakes work shows through the black paint and gives it a cool texture. 

I also added some purple glitter glue to add low lights, however I think they kind of dried in a dull haze, so I’m impartial. The glitter is so small that it didn’t overdo the piece. I like the blue-purple color that adds just a tiny detail, but I’m not sure if it’s really worth getting in the long run (at least for these moths anyway).

Another mistake I did was attempting to add long tails to one of the moths. I just added more tulle, but clearly, it wasn’t working here. It was completely horrible in every way, so they had to come off. 

The idea would be cool, but I would have to find another medium to provide a supportive backing, and I wanted to finish these, so I left them as is.

TIPS

  • Follow the directions in the order I’ve given you. I didn’t, and I wasted some time. 
  • Precision tweezers are definitely helpful, I used them for placing the metal flakes, cleaning the edges, and also placing and holding the antennae. 
  • Keep the elastic bands attached and use them for easily adjustable hanging purposes.
  • The tiny tupperware lids worked great for holding Mod Podge. And a piece of foil worked great as a palette for the various paints.
  • Foil also works well underneath the wings while painting, as it doesn’t absorb the paint. I feel like it allows more paint to stay on the wings this way. 
  • If you’re not finished with paint brushes and/or Mod Podge, your supplies can be stored in ziplock bags (one each for the separate paints and glues). Store the paint brush with it.

Admire your Work

You just finished your own DIY Dollar Tree Halloween Midnight Moth!!! 

Now you just have to decide how you want to display yours. Here’s where I hung mine.

Please create, share and subscribe. 

May your Halloween nights be full of fluttery dancing in the moonlight. Cheers.

Comments are closed.