
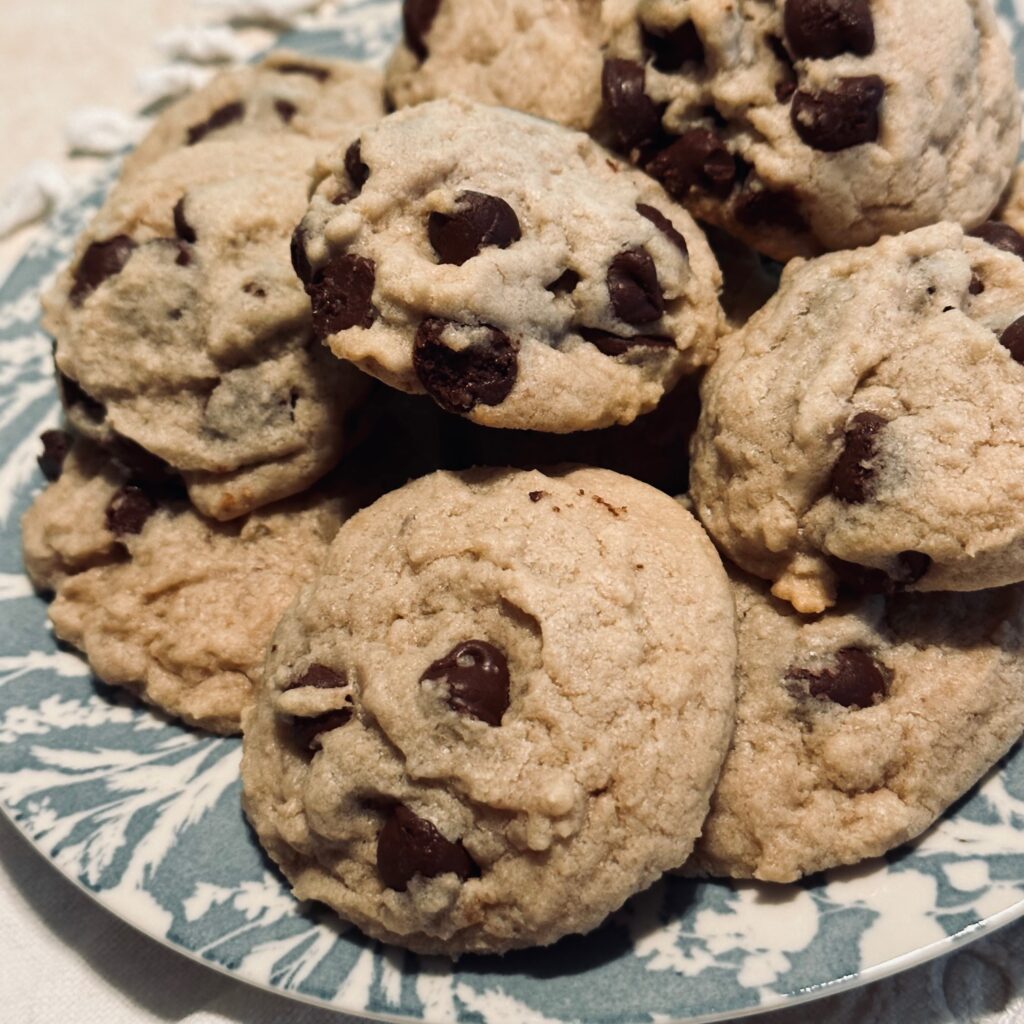


The Perfect Classic Chocolate Chip Cookies
Slightly crisp edges surround this irresistible soft buttery cookie with silky melted chocolate chips inside. This simple recipe is easy and a timeless family favorite that is guaranteed to have everyone begging for more.
Equipment
- 1 large mixing bowl
- 1 medium or small mixing bowl
- 1 electric beaters or wooden spoon
- 1 whisk
- 1 cookie sheet
- parchment paper
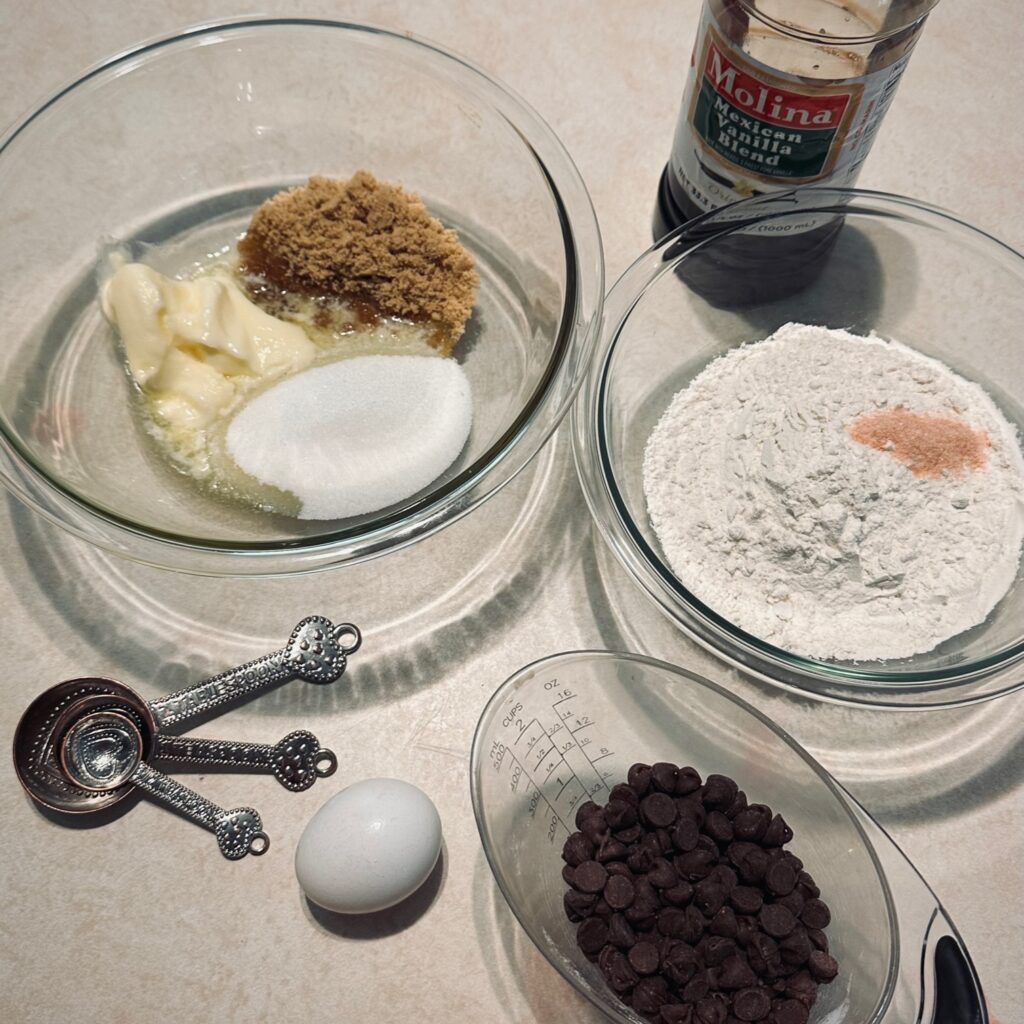
Ingredients
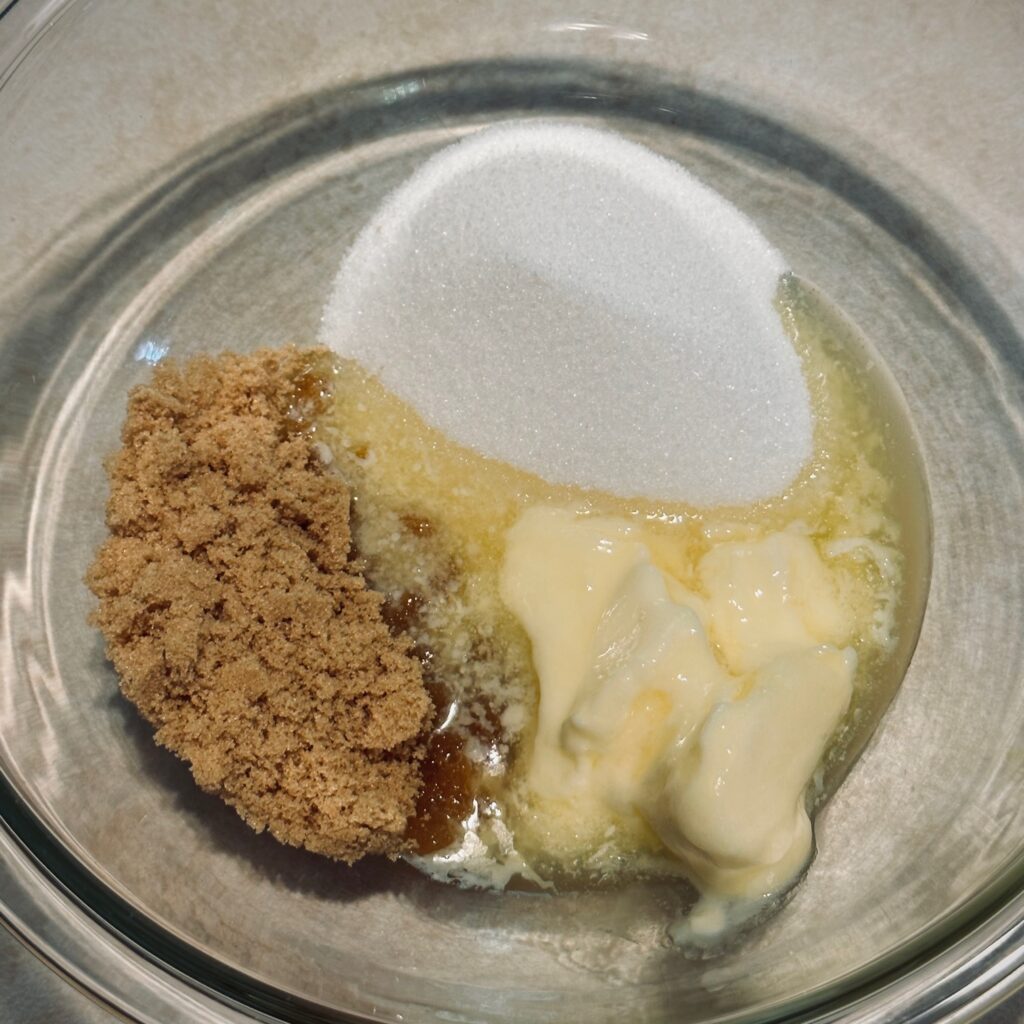
- 8 Tbs Salted butter softened
- 1/2 cup white sugar
- 1/4 cup light brown sugar unpacked
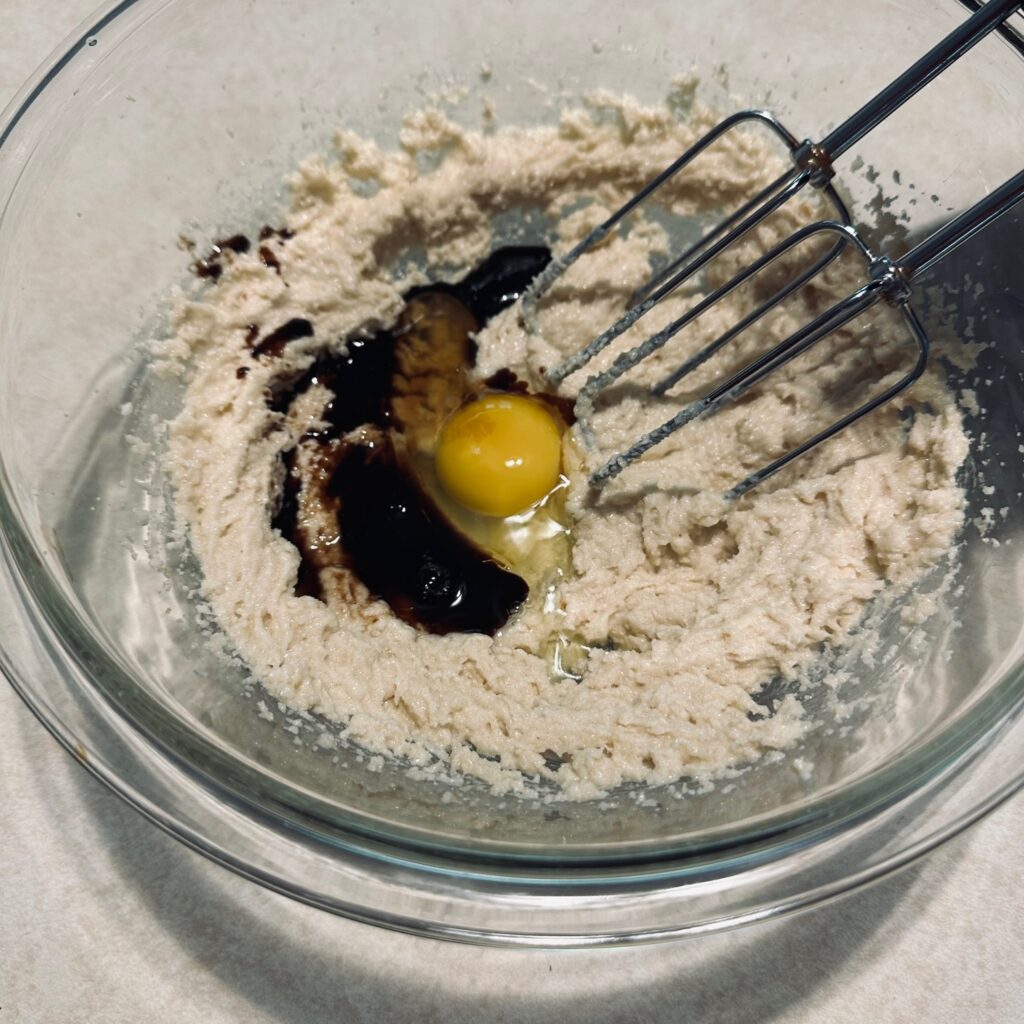
- 1 tbs Vanilla extract Real vanilla is best
- 1 large egg
- 1 1/2 cup unbleached all-purpose flour
- 1/2 tsp pink sea salt
- 3/4 cup chocolate chips or chunks Ghirardellis is
- Course salt to sprinkle on top (OPTIONAL)
Instructions
- 1. Preheat oven to 350.
- 2. Prepare baking sheet with parchment paper.
- 3. Heat butter to soften, about 15-20 seconds in the microwave.
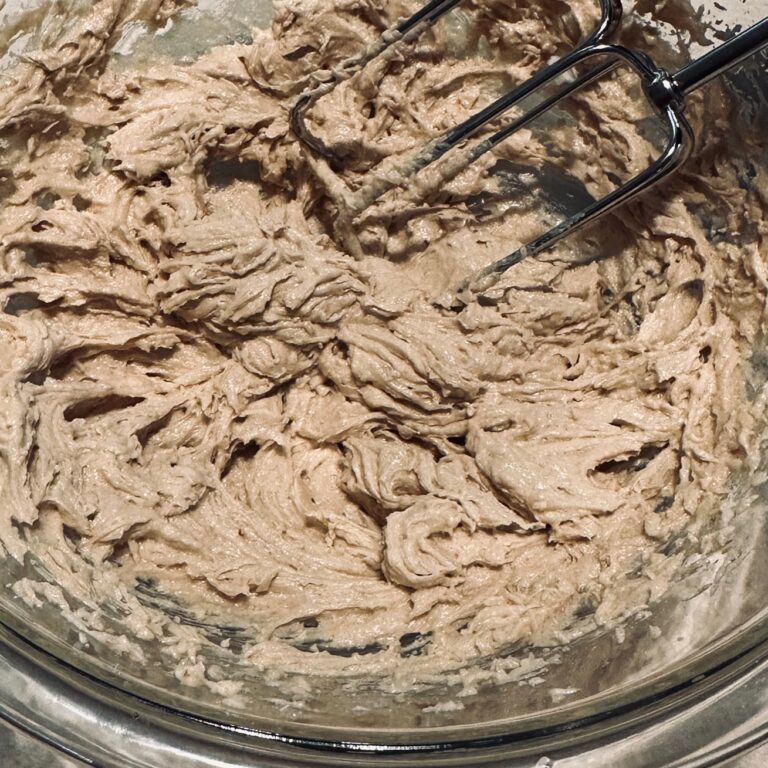
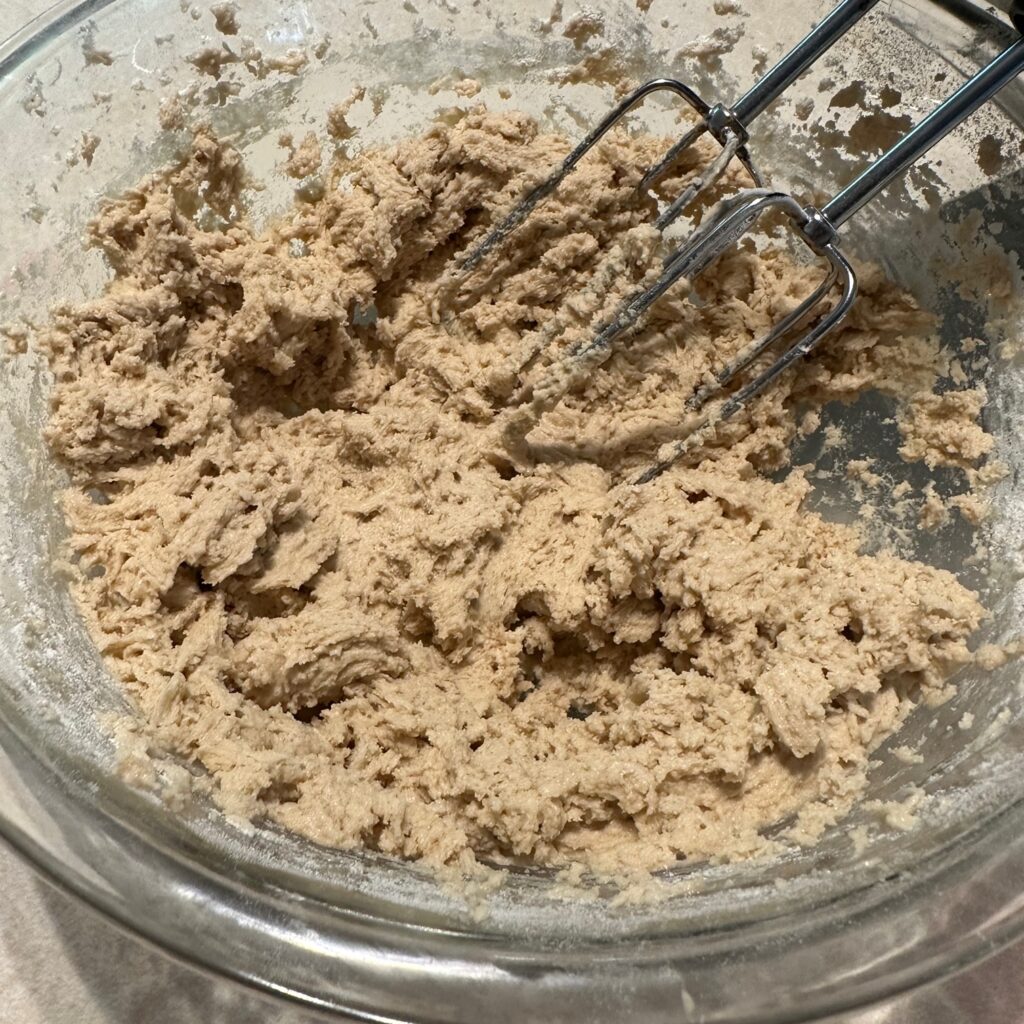
- 4. In large mixing bowl, cream butter, white sugar, light brown sugar, then add egg and vanilla and mix again.
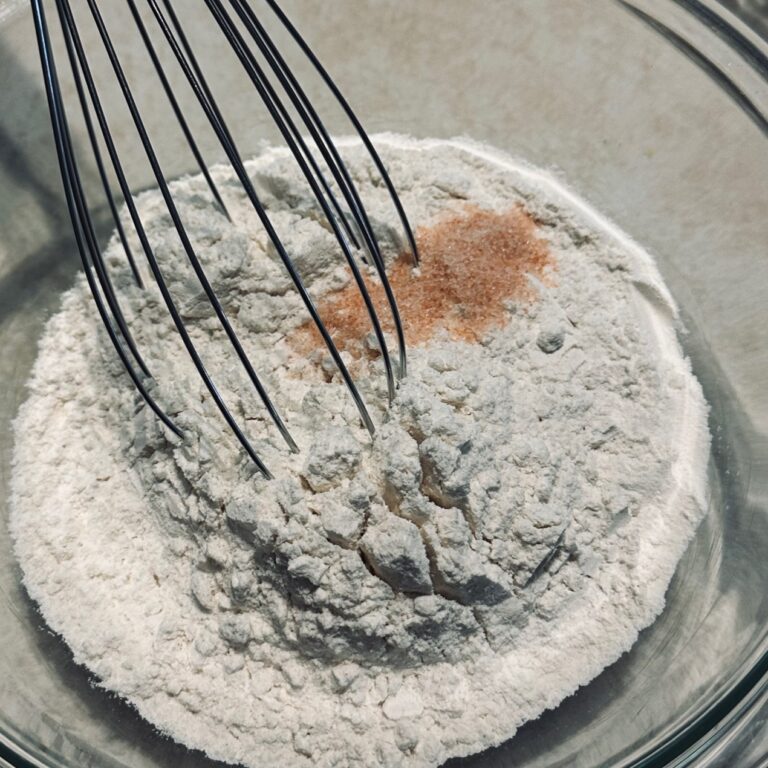
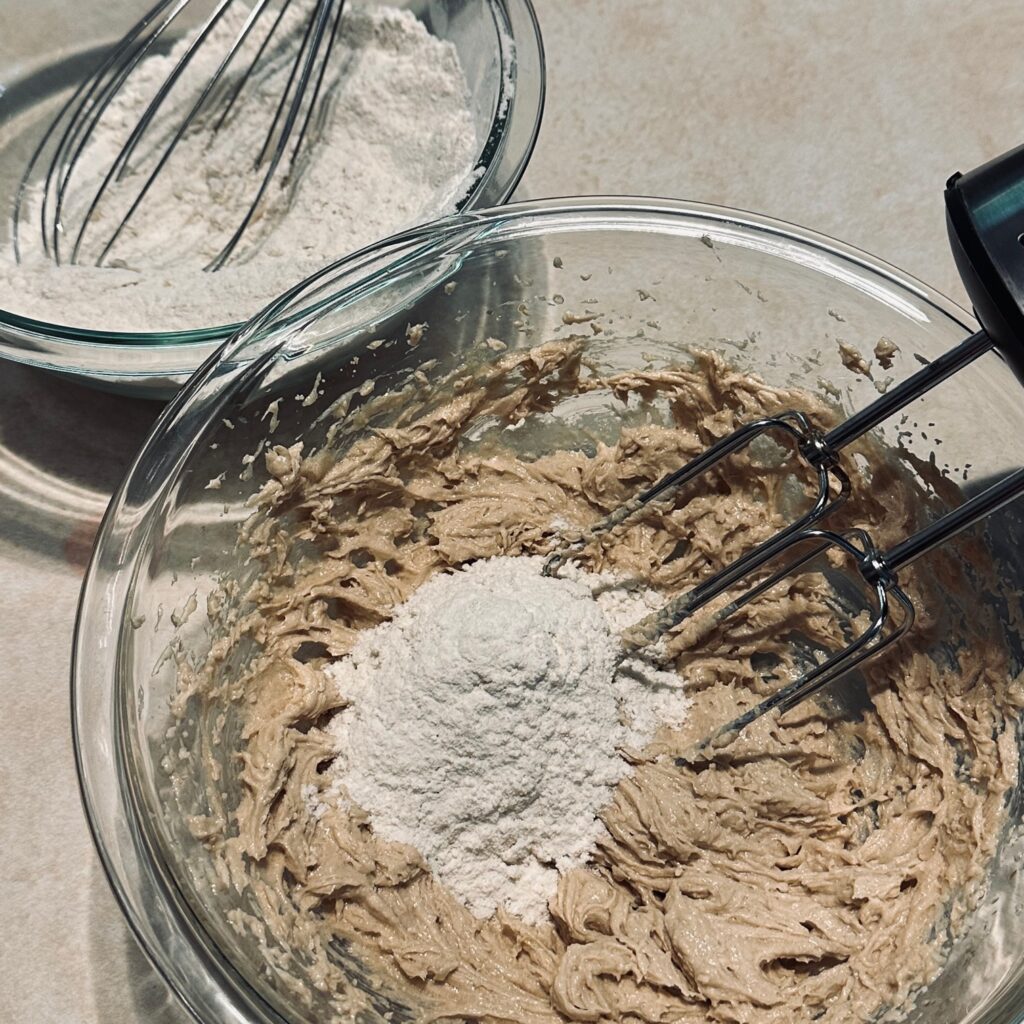
- 5. In a separate bowl, combine flour and salt, stir with a whisk.
- 6. Add flour mixture to the wet mixture a little at a time, blend on low-med speed until combined.
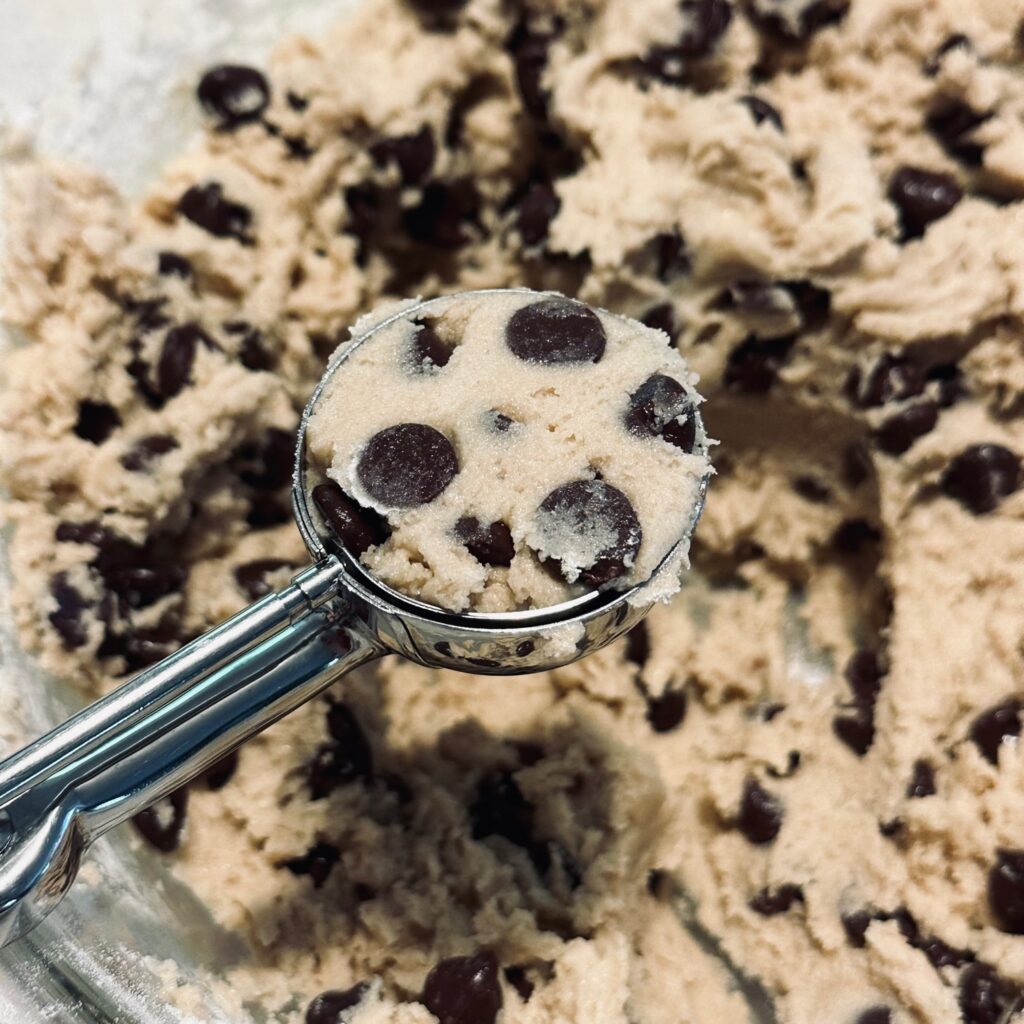
- 7. Add chocolate chips. Mix on low speed until combined.
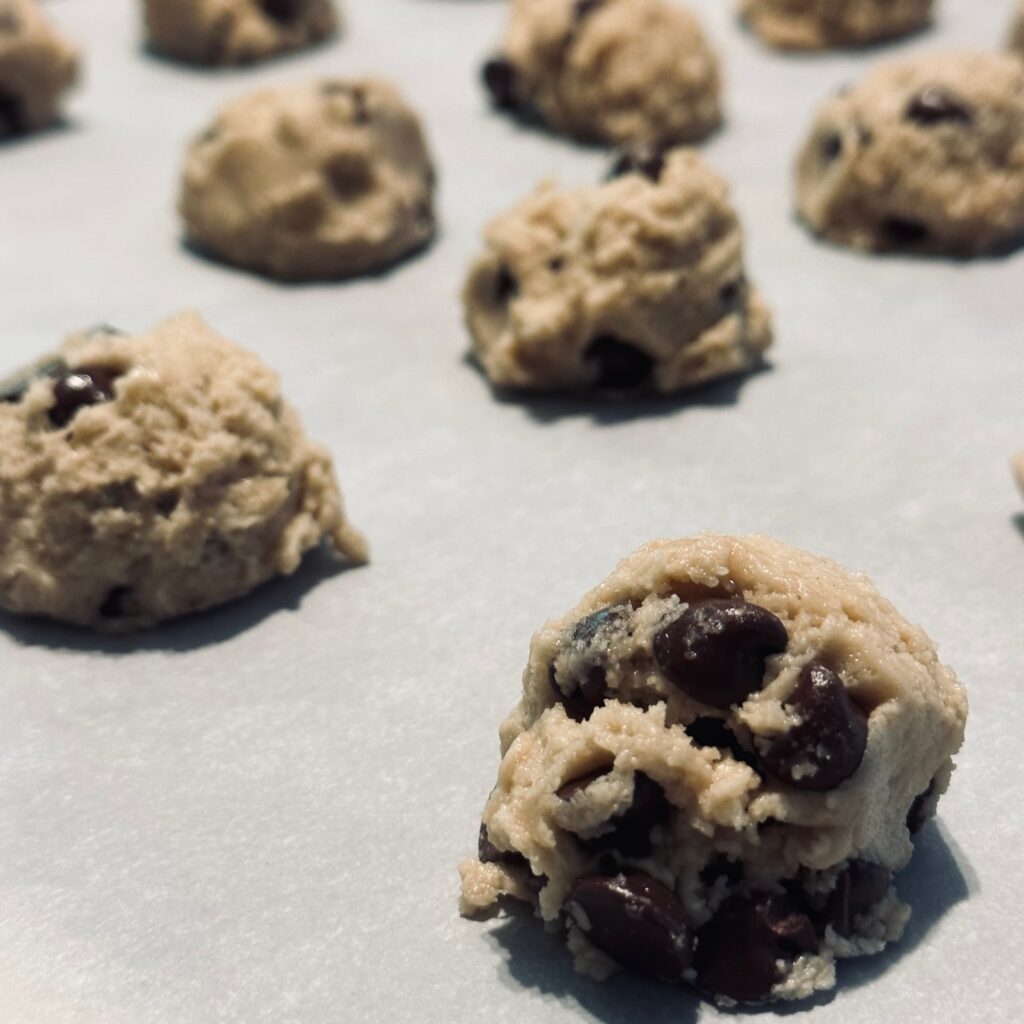
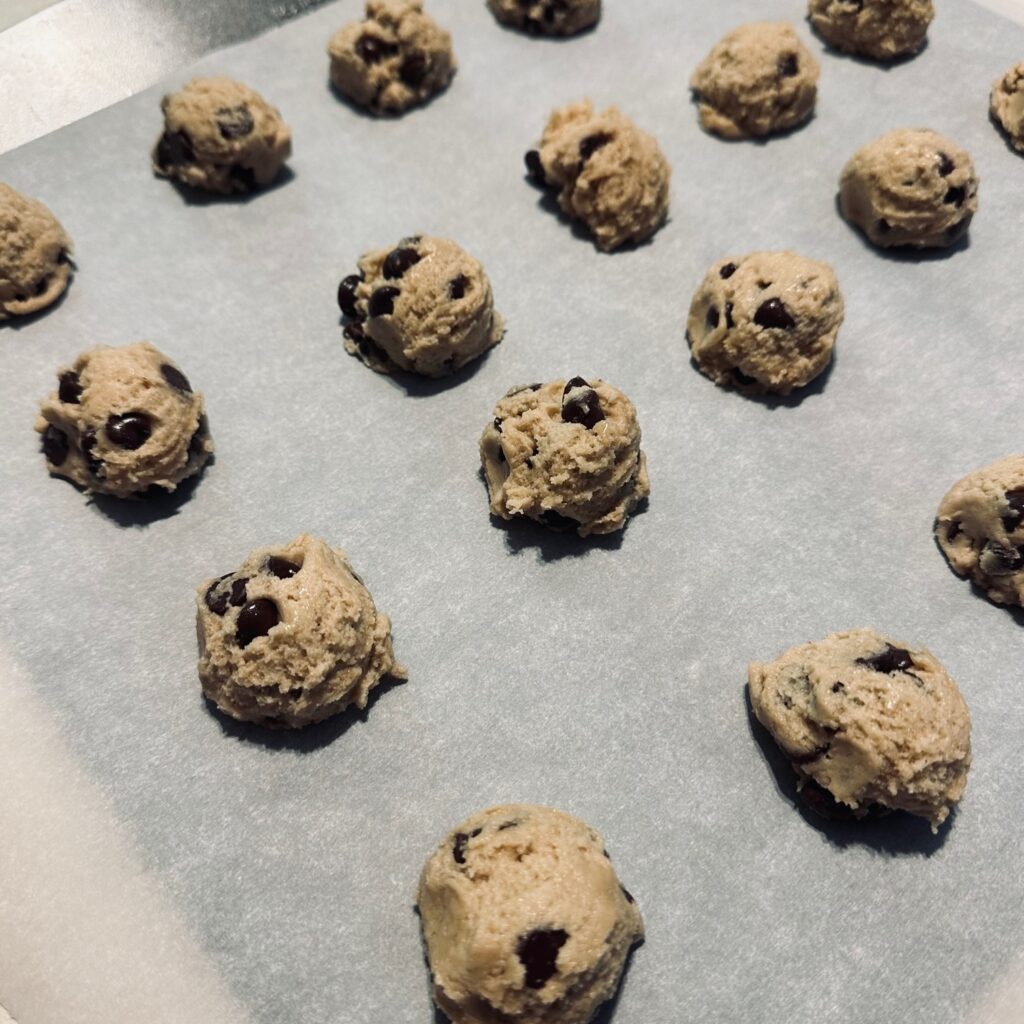
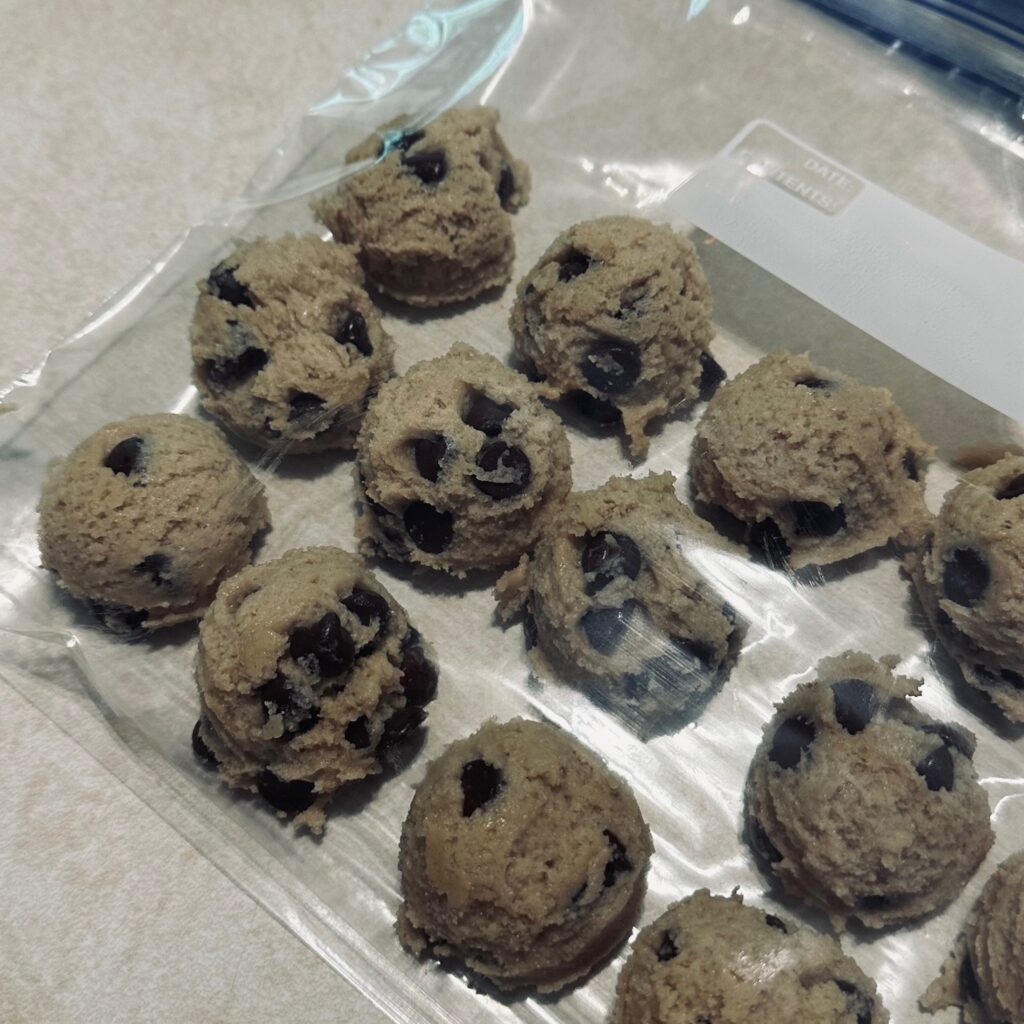
- 8. Use a 2 Tbs size cookie scoop to make cookie balls and pace them on parchment lined cookie sheet.(If you are adding course salt on top, just take a pinch between your fingers and sprinkle from about 18" above the cookies to ensure an even and light distribution.)
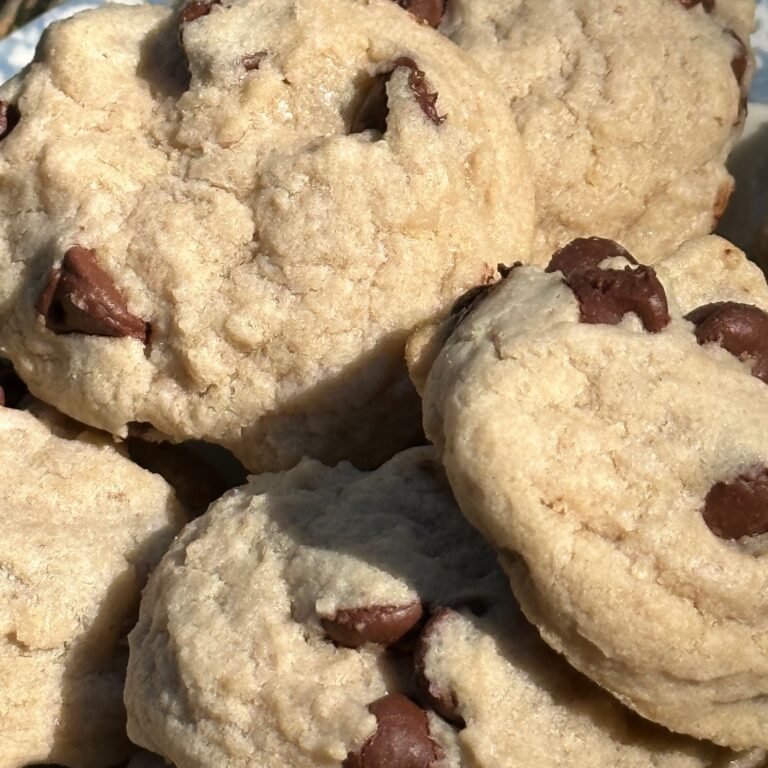
- 9. Bake 12-15 minutes. Cookies will be very light colored, and have just a hint of golden brown on the edges.
- 10. Allow cookies to cool completely on the pan before moving to a cooling rack.This recipe makes about 24 cookies (depending on how much tasting happens before they're cooked).